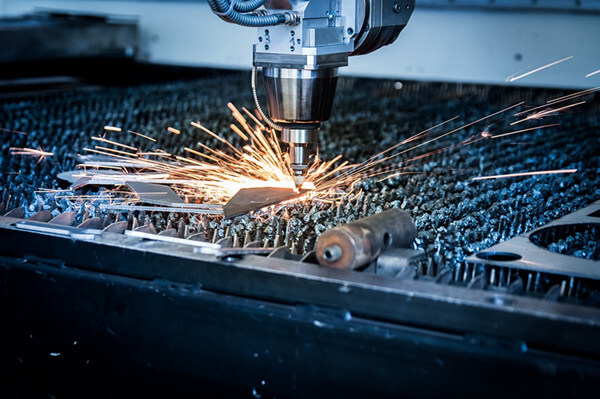
When you are doing gravure printing, which is one of the most popular in the market, you need a gravure cylinder. This is the cylinder that can carry the image to the transferred to the substrate. With the use of engraving technology, laser, and electronic engraving being the most commonly used, it has become very easy to etch the printing image on the gravure cylinder.
But how do you prepare the gravure cylinder for engraving? Well, there are several steps that you should follow for proper engraving. Check out the following steps:
Step 1: Remove Residual Ink
The first step should be removing the residual ink from the previous printing. This is important because it can damage the quality of the engraving. So you need to remove the gravure cylinder from the gravure printing press and wash it to remove the old ink. This could be done using water if the ink was water-soluble.
Step 2: Removing The Chrome Layer
The chrome layer is added to the gravure cylinder after the engraving work has been done. It is the layer that protects the etched cells on the cylinder from wearing out fast or getting damaged after the engraving work has been done, you need to have the latter removed to enable new engraving.
Step 3: Remove The Copper Image-Carrying Layer
The next step after removing the chrome layer is removing the copper image-carrying later. The etching is done on the copper layer that is applied to the gravure cylinder. You need to have it removed to allow for the new layer. You can remove it either chemically or by means of electroplating. In some cases, you can remove this layer mechanically.
Step 4: Copper Plating Process
Once you are done with the removal of the copper layer, the cylinder is ready for the new engraving process. The process starts with copper plating the gravure cylinder or putting a layer that will be engraved. The process should not be difficult as it is done with the use of a special electroplating machine.
Step 5: Etching Or Engraving
The engraving process is done using a special engraving machine which can be using laser or electronic technology. The image is designed on the computer, which then transfers the signal to the laser gun or the diamond stylus for the electronic engraving machine.
Step 6: Chrome-Plating
Chrome plating is the last stage where a layer of chrome is applied on the engraved gravure cylinder to keep the etching in perfect condition.
For proper engraving, you need a good quality machine. You can go now to the website for some of the best laser and electronic engraving machines. The company offers an incredible collection.
