Benefits Of Automatic Hydraulic Press You Should Know

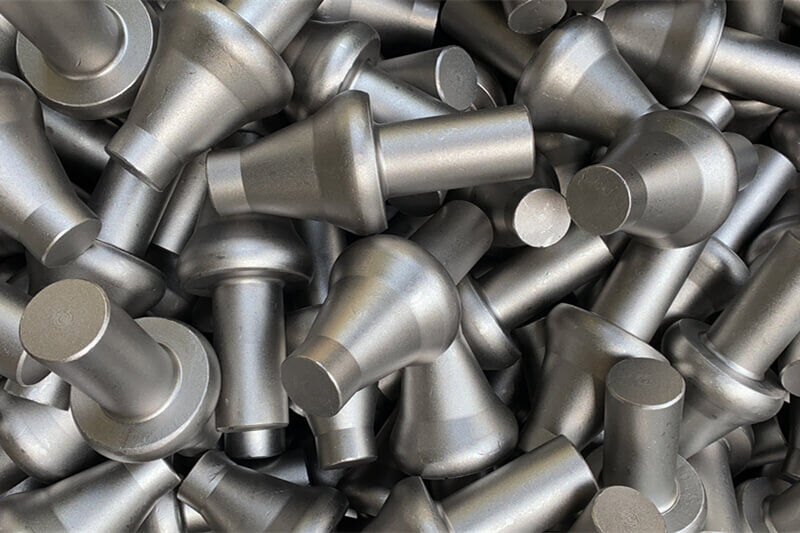
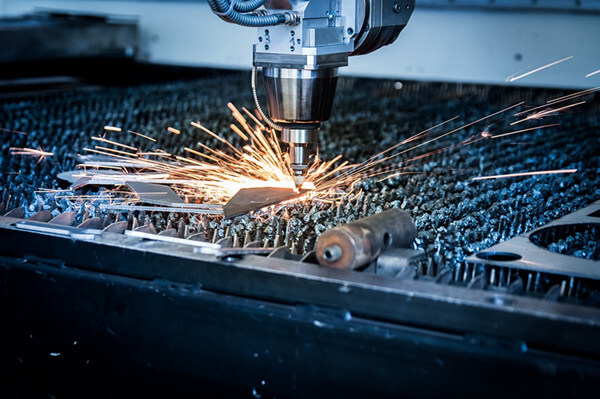
The automatic hydraulic press machines are increasingly growing popular in the market. But why is it? Well, there are many factors that are making more and more people go for these machines. The major one is the many benefits that these machines have over manual alternatives.

In this article, we are going to look at some of the major benefits that you can get from an automatic hydraulic press. If you want to learn more about the automatic hydraulic press, visit the link. Here are some of the major benefits.

Lower Operating Costs

One of the biggest benefits is the low cost of operating. You will definitely like the fact that these machines do not require a lot of labour to operate. The cost of working with these machines is lower considered to their manual counterparts.

Improved Worker Safety

One of the key features that you get from an automatic hydraulic press is improved worker safety. They are designed to reduce human-machine contact as much as possible. This means the level of injury risks when running these machines is significantly reduced.

Reduced Factory Lead Times

The time that you have to wait for the order to be processed once you have placed it matters. The automated hydraulic press can process orders faster than the typical machines. Therefore, you can expect them to reduce your lead time by a huge margin. This means a better reputation and more customers to your business.

Faster ROI

Nothing gives investors a hard time than trying to get the highest ROI possible. This is something that some suppliers still finds it difficult to get. But with an automatic hydraulic press, you can expect to get a fast ROI. This is because of the high production rate that results in higher profits.

Increased Production Output

With most of the machine functions automated, you can expect the machine’s production rate to be higher. This means the production output of the machine will also increase. This simply means you can now make more money off your investment.

Maximize Labor

Do you know how much you spend on labour? If you are using the typical hydraulic press, you will need to have a highly trained operator. This means you will need to spend more money on higher such operators. But with the automatic hydraulic press, most of the functions are automated, and this means no need for experts to operate the machine. So, you can get cheap labor.

Expert Hacks To Tell Good Road Milling Bits

The most difficult thing for most road milling bits buyers, especially the first-timers, is getting the right and quality tools. This is because of the kind of confusion that is created in the market. But in most cases, buyers get into trouble because they don’t have the right information.

If you are informed, then you will find it very easy to buy good road milling bits. In fact, you will be able to go straight to what you need without wasting time and resources. If you are going to the market for replacement road milling bits, this guide is for you.

We have rounded up expert tips on how to tell good road milling bits. Read the following tips for a better buying experience:

Brand

The first and the easiest way to tell good road milling bits is the brand. This is an important factor if you buy from other sources than the original manufacturer of the machine you are using. If you go for the aftermarket manufacturers, there are many good brands that you can select from. Click for info for one of the reputable aftermarket brands.

Size of Bits

You can tell a good road milling bits by size. For all the bits that you buy for your road milling machines, they must be of the right size. Make sure that you have understood your machine to ensure that you only get the right size. The length, width as well as weight of the bits matters the most.

Materials Used

The material used for the construction of the road milling bits also matter. To tell good road milling bits, you need to check the kind of materials the manufacturer has used. For the bits, milling steel and carbide are the most widely used materials.

Joining Method

The joint forming the road milling bits is another factor that tells good bits. There are many types of joints used, but brazing tungsten carbide to steel forms the toughest joints. Therefore, depending on the condition, you will be working in, ensure you have the right joints.

Bits Durability

What is the expected lifespan of the road milling bits? This is a question that you need to get answers to. If you want to get value for money, then you need to ensure that you have invested in durable bits. The bits should be able to withstand wear and tear as well as abrasive conditions.

This Is How You Prepare Gravure Cylinder For Engraving

When you are doing gravure printing, which is one of the most popular in the market, you need a gravure cylinder. This is the cylinder that can carry the image to the transferred to the substrate. With the use of engraving technology, laser, and electronic engraving being the most commonly used, it has become very easy to etch the printing image on the gravure cylinder.

But how do you prepare the gravure cylinder for engraving? Well, there are several steps that you should follow for proper engraving. Check out the following steps:


Step 1:  Remove Residual Ink

The first step should be removing the residual ink from the previous printing. This is important because it can damage the quality of the engraving. So you need to remove the gravure cylinder from the gravure printing press and wash it to remove the old ink. This could be done using water if the ink was water-soluble.

Step 2: Removing The Chrome Layer

The chrome layer is added to the gravure cylinder after the engraving work has been done. It is the layer that protects the etched cells on the cylinder from wearing out fast or getting damaged after the engraving work has been done, you need to have the latter removed to enable new engraving.

Step 3: Remove The Copper Image-Carrying Layer

The next step after removing the chrome layer is removing the copper image-carrying later. The etching is done on the copper layer that is applied to the gravure cylinder. You need to have it removed to allow for the new layer. You can remove it either chemically or by means of electroplating. In some cases, you can remove this layer mechanically.

Step 4: Copper Plating Process

Once you are done with the removal of the copper layer, the cylinder is ready for the new engraving process. The process starts with copper plating the gravure cylinder or putting a layer that will be engraved. The process should not be difficult as it is done with the use of a special electroplating machine.

Step 5: Etching Or Engraving

The engraving process is done using a special engraving machine which can be using laser or electronic technology. The image is designed on the computer, which then transfers the signal to the laser gun or the diamond stylus for the electronic engraving machine.

Step 6:  Chrome-Plating

Chrome plating is the last stage where a layer of chrome is applied on the engraved gravure cylinder to keep the etching in perfect condition.

For proper engraving, you need a good quality machine. You can go now to the website for some of the best laser and electronic engraving machines. The company offers an incredible collection.